




 21% THCa



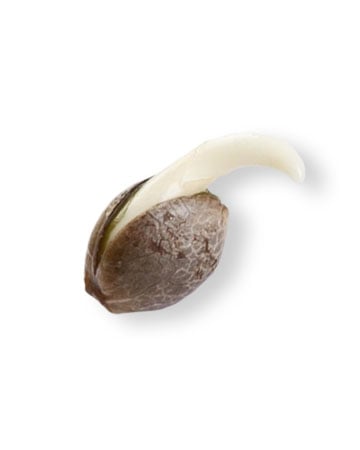


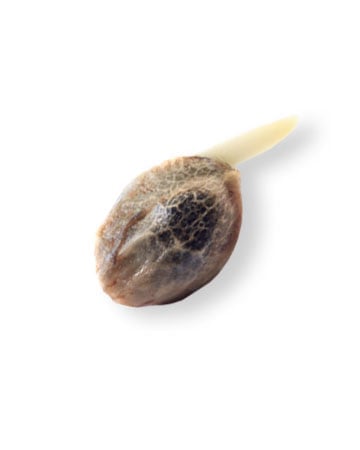


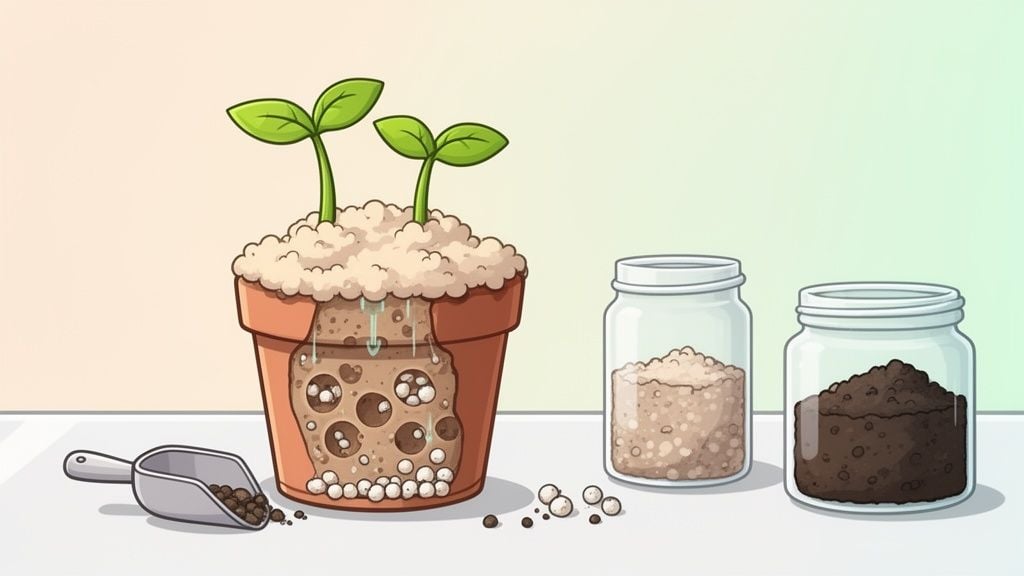
That moment you decide to germinate your cannabis seeds can be one of the more exciting parts of the whole grow. Before the little green shoots appear, though, you’ll need to give them a proper home. Finding the best soil for your cannabis seedling is one of the most critical decisions you’ll make in the first few weeks of the growing process, and will set the foundation for everything to come.
While it may be tempting to grab a bag of nutrient-packed potting soil from your local hardware store, more isn’t always better. The absolute best soil for cannabis seedlings is a light, airy, low-nutrient mix. Seedlings have delicate systems, so a soil that’s too dense, overloaded with nutrients, or “hot” can stunt their growth.
Seedling soil needs to be strong enough to support development but gentle enough not to overwhelm your plants’ brand-new root system. There are three main things that make up the ideal starter soil. Nail these, and you’ll sidestep the most common beginner problems, giving your plants a killer head start.
The three pillars of perfect seedling soil
To give your cannabis seeds the best possible shot at a healthy life, your soil needs to have three key traits.
A Light and Fluffy Texture: A seedling’s roots are incredibly fine and fragile. If the soil is dense and compacted, the roots have to struggle to push through it, which wastes energy and slows down growth. The soil you choose should feel light and airy in your hands.
Excellent Drainage and Aeration: One of the quickest ways to kill a seedling is to let its roots sit in soggy soil. Good drainage makes sure excess water runs right through, preventing root rot. Aeration is important as well, as tiny air pockets in your soil will give your seedlings the oxygen they need to function.
Low Nutrient Content: This is the one that trips up most new growers. A cannabis seed already contains all the food it needs to sprout and grow for its first week or two. Soil that’s pre-loaded with powerful nutrients can make the leaves turn yellow and crispy.
Here’s a quick table to pull all of that together.
Photo by Dominique Stueben on Unsplash
Ideal cannabis seedling soil at a glance
This table breaks down the essentials for choosing or mixing the perfect starter soil for your cannabis seedlings.
| Characteristic | Why It Matters for Seedlings | What to Look For in a Mix |
| Light Texture | Lets fragile new roots grow easily without resistance. | Ingredients like coco coir, peat moss, or fine compost. |
| Good Drainage | Prevents waterlogged soil, which leads to root rot. | Look for perlite or vermiculite, which look like small white stones. |
| Low Nutrients | Avoids “nutrient burn” on delicate, young plants. | The bag should say “seed starting mix,” not “potting soil.” |
Why proper soil pH is a seedling’s best friend
Let’s talk about something that can quietly make or break your entire grow: pH levels. While most starter soil will have proper pH levels by default, knowing how to check and adjust your soil’s pH levels is a good skill to keep in your toolkit. When your soil is too acidic (low pH) or too alkaline (high pH), nutrients such as phosphorus, calcium, and magnesium may be present in the soil, but your seedlings cannot absorb them. This is called “nutrient lockout.”
The ideal pH range is between 6.0 and 7.0. Staying within this window is critical. (Agropharm, 2025) It’s not just a suggestion; growers who maintain this pH range often see 15-25% faster seedling growth because the plants can easily access everything they need to thrive.
How to check and adjust your soil pH
Testing your soil is easy and one of the most empowering habits you can build as a grower. Here’s how to do it.
- Grab a pH Testing Kit: A digital pH pen is a great investment for accurate, instant readings. You can also find simple soil test kits or pH strips at any garden store, which work just fine.
- Test the Runoff: When you water your plant, let about 20% of the water drain out of the bottom of the pot. Collect a sample of that runoff and test its pH. This gives you a great idea of what’s happening in the root zone.
- Adjust as Needed: If your reading is off, use a “pH Up” or “pH Down” solution, which you can find at any hydro store. Add a tiny amount to your water, mix it up, and test again. Always make small, gradual adjustments to avoid shocking your delicate seedlings.
Pro Tip: Test the pH of your water before you give it to your plants. Tap water can vary in its pH levels quite a bit depending on your location. Getting your water’s pH right from the start is the best way to prevent problems down the road.
Crafting your own perfect seedling soil mix
While buying a pre-made bag of soil is convenient, mixing your own is where the real magic happens. Not only is it cheaper in the long run, but it affords you total control over what your precious seedlings are growing in.
A great DIY mix just relies on a few core components, and once you understand what each one does, you’ll be able to whip up a batch of light, fluffy, well-draining soil that your seedlings will absolutely love.
Photo by Camila Jacques on Unsplash
The building blocks of a great diy mix
Keep in mind the following “power trio” of seedling soil.
Coco coir or peat moss (the base)
This is the foundation of your mix. Both are fantastic at holding onto water without turning into a dense, muddy swamp. Coco coir, made from coconut husks, is a renewable choice. Peat moss is an old-school classic, prized for being both sterile and absorbent.
Perlite (the aerator)
Those little white, styrofoam-like bits are actually volcanic glass. Perlite is a game-changer for aeration, creating thousands of tiny air pockets throughout the soil. This is critical for letting roots breathe and preventing the dreaded root rot.
Vermiculite (the moisture manager)
This flaky, mineral-based amendment acts like a tiny sponge. It soaks up water and nutrients, then slowly releases them back to the roots. It’s the key to keeping things consistently moist without being waterlogged.
DIY seedling soil recipes
Here are a couple of tried-and-true recipes to get you started. In the chart below, “parts” applies to any unit of measurement—whether that’s a scoop, a cup, a bucket. What matters is that the ratios are consistent.
A peat moss base is a great way to go. A mix with around 50% peat moss not only holds moisture well, but also supports beneficial microbes, allowing the roots to thrive. A good peat mix can cut down your watering frequency by 30-40% and can boost early root mass by 20-30%.
The table below breaks down two simple but effective recipes. One is a foolproof starting point; the other adds a gentle, organic touch for growers who want to take it a step further.
| Ingredient | Beginner’s Mix Ratio | Advanced Mix Ratio |
| Coco Coir or Peat Moss | 1 part | 2 parts |
| Perlite | 1 part | 1 part |
| Vermiculite | 1 part | 1 part |
| Worm Castings | 0 parts | 1 part |
The beginner’s 1:1:1 mix is incredibly forgiving and encourages excellent plant structure. If you’re ever looking for more tips as you get growing, check out our other cannabis seed grow advice.
The following two recipes introduce worm castings, which will add beneficial microbes and a very mild source of nutrients without a much lower risk of nutrient burn.
Add all your ingredients into a clean bucket or on a tarp. Mix them thoroughly until everything is evenly distributed. Add a little water at a time until the mix is just damp (similar to a squeezed-out sponge), and you’ve got a premium, custom soil ready for your seedlings.
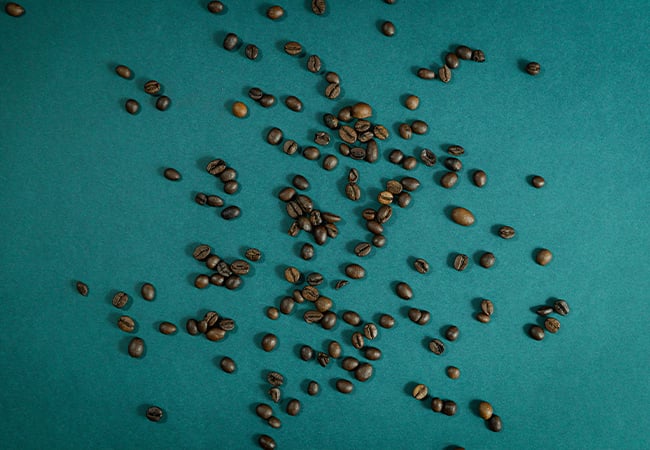
Photo by Ionela Mat on Unsplash
Choosing the right first home
Putting your seedlings into a large pot is a common beginner mistake. A pot that’s too large can hold excess water, creating a swampy, low-oxygen environment that encourages issues such as root rot.
Start small. A solo cup (with drainage holes poked in the bottom!) or a 3-4 inch nursery pot is the perfect size. This smaller volume of soil is much easier to manage and helps ensure the roots get that healthy balance of moisture and air they crave.
Step-by-step transplanting guide
When your seedling has developed its first set of true leaves (the serrated ones, not the first two smooth “cotyledon” leaves), it’s usually ready for its first pot. Remember to handle it with care; the stem and roots are incredibly fragile at this stage.
- Prep the new pot
Fill your starter pot with your pre-moistened seedling mix. Don’t pack it down tightly—you want it to stay light and airy. Use your finger or a pen to poke a small hole in the center, just deep enough to fit the seedling’s root.
- Gently free the seedlings
If you started in a germination cube or plug, this part is easy. If it’s in a tray, gently squeeze the sides of its cell to loosen the soil. Never, ever pull the seedling by its stem. Instead, try to handle it by the soil/root ball or by its leaves if you absolutely have to.
- Place the seedlings
Carefully lower the root ball into the hole you made. You want the base of the stem to sit right at the soil level. Lightly push the soil in around the root ball, gently firming it down to get rid of air pockets and ensure good root-to-soil contact.
- Give the seedlings a welcome drink
Add a small amount of pH-balanced water. This helps the roots make contact with their new environment.
From there, place your newly potted seedlings under a gentle light source and allow them to get used to their new surroundings. By avoiding stress now, you’re paving the way for a vigorous, problem-free vegetative stage.
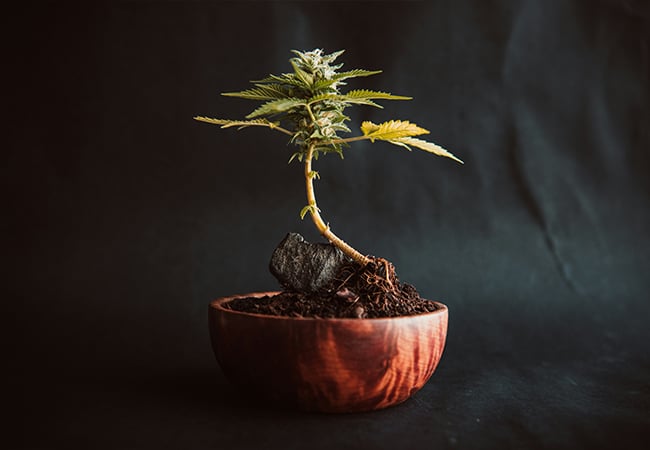
Photo by Testeur de CBD on Unsplash
Watering and feeding your young plants
When you’re starting out, it’s natural to want to dote on your new seedlings. But here’s some advice every seasoned grower learns, often the hard way: less is more. The two fastest ways to kill a young cannabis plant are overwatering and overfeeding.
Seedlings need to be gently guided, not force-fed. Learning to read your plants’ signals can be one of the most important skills you will develop as a grower.
The art of watering seedlings
First thing’s first: throw out the idea of a rigid watering schedule. Your plants don’t care if it’s Tuesday.
The absolute best way to know if your seedling is thirsty is to pick up its container.
Get a feel for how light it is when the soil is dry, and then compare that to how heavy it feels right after you’ve watered. This simple “lift test” is way more accurate than simply looking at the surface, which will dry out more quickly, despite the fact that there’s moisture deeper in the soil.
Your goal is to let the growing medium dry out almost completely between waterings. This encourages the roots to stretch out and actively search for moisture, which is exactly what builds a strong, sprawling root system. It also ensures the root zone gets plenty of oxygen—something roots need just as much as water to grow healthy.
Avoid watering a little bit every single day. This keeps the topsoil soggy while the bottom stays bone-dry. This promotes shallow, weak roots and creates a welcoming environment for fungus and gnats.
Knowing when to introduce the first meal
Right out of the shell, your cannabis seed has its own packed lunch. The first two oval leaves that appear aren’t actually leaves; they’re called cotyledons and contain all the food a seedling needs to get through its first week or so.
Once your seedling has pushed out its first or second set of real, serrated leaves, it’s ready for a very light feeding.
Start with a nutrient solution mixed at just one-quarter of the recommended strength. From there, you can slowly ramp up the strength as the plant gets bigger. This patient, gradual approach is the key to preventing nutrient burn and setting your plants up for healthy, vigorous growth.
Even with the best-laid plans, things can still go sideways with your seedlings. Don’t worry—it happens to every grower. The good news is that most common problems are easy to fix if you catch them early. Let’s walk through some of the most frequent issues you might run into.
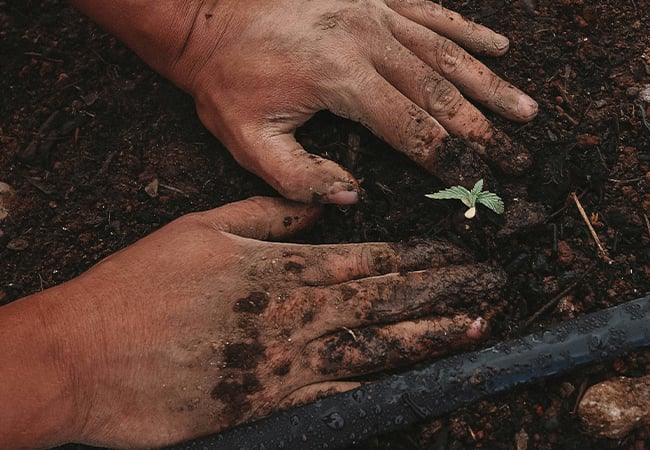
Photo by GreenForce Staffing on Unsplash
Common challenges and how to fix them
The one issue that strikes fear into the hearts of new growers is “damping off.” This is a fungal disease that rots the stem right at the soil line, causing the seedling to weaken and, in severe cases, fall over entirely. Once this occurs, there’s no saving the plant.
The best defense is a good offense. Damping off thrives in soggy, stagnant conditions, so focus on prevention: ensure your soil has excellent drainage, don’t overwater, and keep a small fan running to provide gentle air circulation.
Reading the leaves
Your seedling’s leaves are its primary communication tool. They’ll tell you exactly what’s going on long before a problem becomes critical. If they look droopy, discolored, or just aren’t growing, they’re sending you a signal.
Here’s a quick guide to translating what your plant is saying:
Drooping or wilting
This one is almost always about water. The confusing part? It can mean too much or too little. To figure it out, just lift the pot. If it feels surprisingly heavy, the soil is waterlogged. If it feels light as a feather, your little plant is thirsty.
Yellowing Leaves
First off, if the very first set of little round leaves (the cotyledons) turn yellow and fall off, that’s completely normal. Their job is done. However, if the “true” serrated leaves start yellowing, it’s a sign that something is off. It could be a pH issue locking out nutrients, or it might just be time for the seedling’s first very light feeding.
Stalled growth
Is your seedling just…stuck? If you haven’t seen any new growth in a week, the two most common culprits are temperature and space. Cold soil can slow everything to a crawl. The other possibility is that the roots have already filled up their starter pot and have nowhere to go—a condition called being “rootbound.” Gently moving it to a slightly bigger home will often get things moving again.
Ready to start your grow with genetics you can trust? Growers Choice Seeds offers over 500 lab-tested strains with a 90% germination guarantee. Find the perfect cannabis seeds for your setup by exploring our full library of high-quality options.
References
Agropharm. (2025). How to grow medical cannabis in soil: Best practices. https://agropharm.com/blog/how-to-grow-medical-cannabis-in-soil-best-practices/
FAQs
When is it time to move my seedlings to a bigger pot?
Timing the first transplant is crucial. Do it too soon, and you risk shocking the plant; wait too long, and you can stunt its growth.
The best visual cue is to watch the leaves. Keep an eye on your seedlings’ first fan leaves; if they’ve grown wide enough to reach the edges of the starter pot, that’s typically a good sign the plant is ready to be transferred. The real proof, though, is in the roots. Gently slide the seedling and its soil out of the container. If you see a solid, well-formed network of white roots holding the soil together, it’s time for a new home with more space to expand.
Help! Why Are My Seedlings So Tall and Skinny?
If your seedlings look like they’re reaching for the sky with long, pale, and flimsy stems, the problem isn’t your soil—it’s your light.
This happens when the light source is either too weak or too far away. The seedling instinctively stretches upward, trying to get closer to what it perceives as a weak sun. While it might look like they’re growing fast, this kind of growth creates a weak plant that can easily fall over and die.
In these cases, lower your current light source so it’s closer to the plants. If the light itself is weak, consider upgrading to a more powerful grow light. You want your seedlings to grow stout and strong, not tall and lanky.
Can I just use regular potting soil?
No. Most of those all-purpose soils are way too “hot” for seedlings. That means they’re packed with heavy-duty nutrients designed for mature, established plants and can scorch your seedlings’ delicate new roots.
Potting soil is also too dense and heavy; it holds onto water like a sponge, suffocating the roots. You’re much better off starting with a mix that’s light, airy, and specifically made for starting seeds.